

It Took Two Years To Make This Video...
/The Canon XL1 was my dream camera when it was released in 1998, but as a broke 13 year old its $4000 price tag was far beyond anything I could ever have hoped to afford. Years later thanks to the magic of eBay, I was finally able to buy my dream camera and I could not wait to share all of this in a video.
The only problem is I had no idea where to begin.
This project has been built up as something so massive in my mind that I didn’t know how to include everything I wanted while also making it interesting and entertaining while doing the camera the justice is deserves. Fortunately, as with most challenges, it just came down to baby steps, one at a time, and before I knew it progress had been made!

here’s the whole setup for part 1
I decided to use a typical A/B camera setup, but wanted to try different looks throughout the video. The outline is split into 3 main sections, so it seemed like a good idea to have 3 separate filming setups. They're all semi-similar, but it at least gives each section its own "feel."
For the first part which contextualizes the XL1, I wanted to use my small workbench, which I've dubbed "The Explainer Table" because it always seems to show up whenever I have something to show/explain in a more casual way. I was also able to make a sitting and standing version of this, so as the video topic slightly shifts throughout the section there can be a visual change to go along with it.
My boom pole couldn't totally reach as close as I would've liked, so I ended up using the Sennheiser EW-DP wireless system again, which worked really well. I ended up using the MKH50 as a boom in the other two sections, so I'm hoping the shift in audio quality won't be too noticeable. They both sound great, just different.
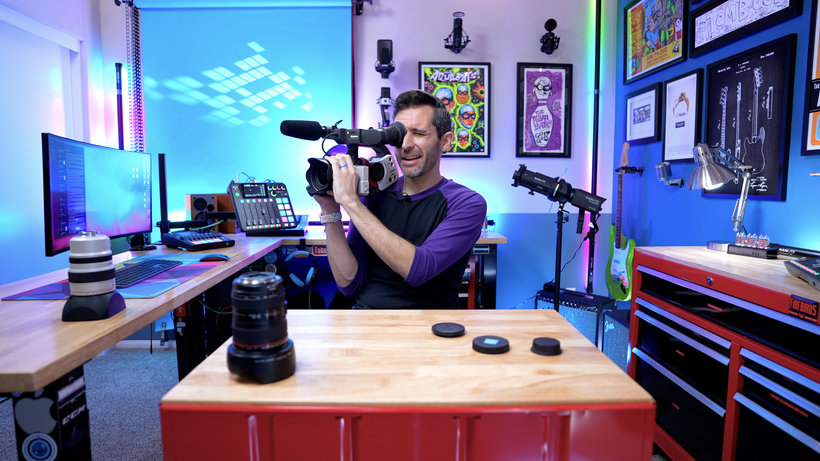
"The ExplainER Table" with the Tamron 20-40 lens (20mm was what made it tough to position the boom arm)
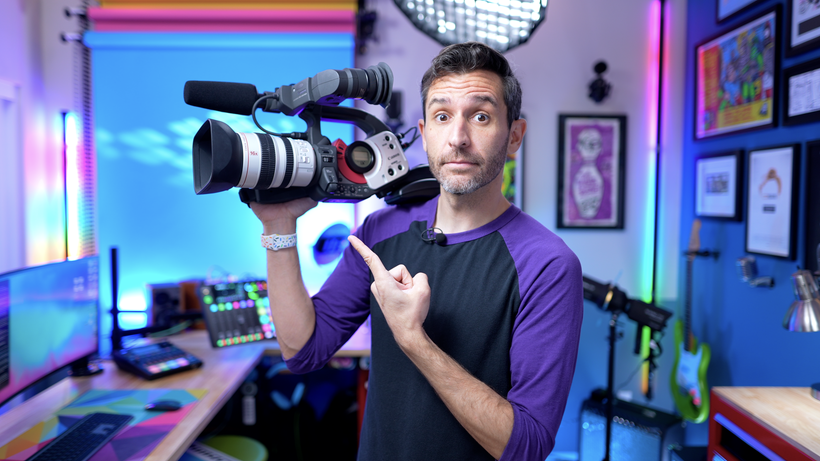
Alternate standing option using the 24 1.4 lens. I definitely want to use this in more videos!
Part 2 dives into more of the specs and capabilities of the camera, so I went with my usual "head on" shot, which for some reason seems to pair well with talking about things in detail like that. I also had to add in the a7IV as a C camera to catch some closeups of buttons/tidbits on the XL1.

The setup for Part 2, which is my most commonly used setup in videos, but I did change the lighting a little bit this time to be more direct instead of bouncing off the wall/ceiling

I really like this style of shot overall, and it's been fun to play with the light projector attachment recently to splash designs on the back corner.
And finally, the third part isn't too different but I wanted to go back to the super old school "corner shot." The plane of focus combined with the angle of the table in this shot can make it tough to show things in a detailed way, but it's great for explaining and makes it easy to add props to the background related to the topic (in this case there are a couple of other cameras that I talk about earlier in the video).

the corner shot setup in all its glory, complete with my production assistant

this shot is how most of my early videos are framed, so it’s fun to come back to it from time to time
So all in all, I'm SUPER happy to have finally tackled this behemoth of a project. Spending extra time outlining and scripting definitely helped the shooting process go much more smoothly. Definitely check out the video linked above if you haven’t seen it yet!

Since it seemed like a waste to just delete this timeline after putting so much work into it I decided to add this project and all of the assets as a “bonus” to my Final Cut Pro editing course Rough Cut to Final Cut. You can download everything, including the completed timeline, and mess with it to your heart’s content.